

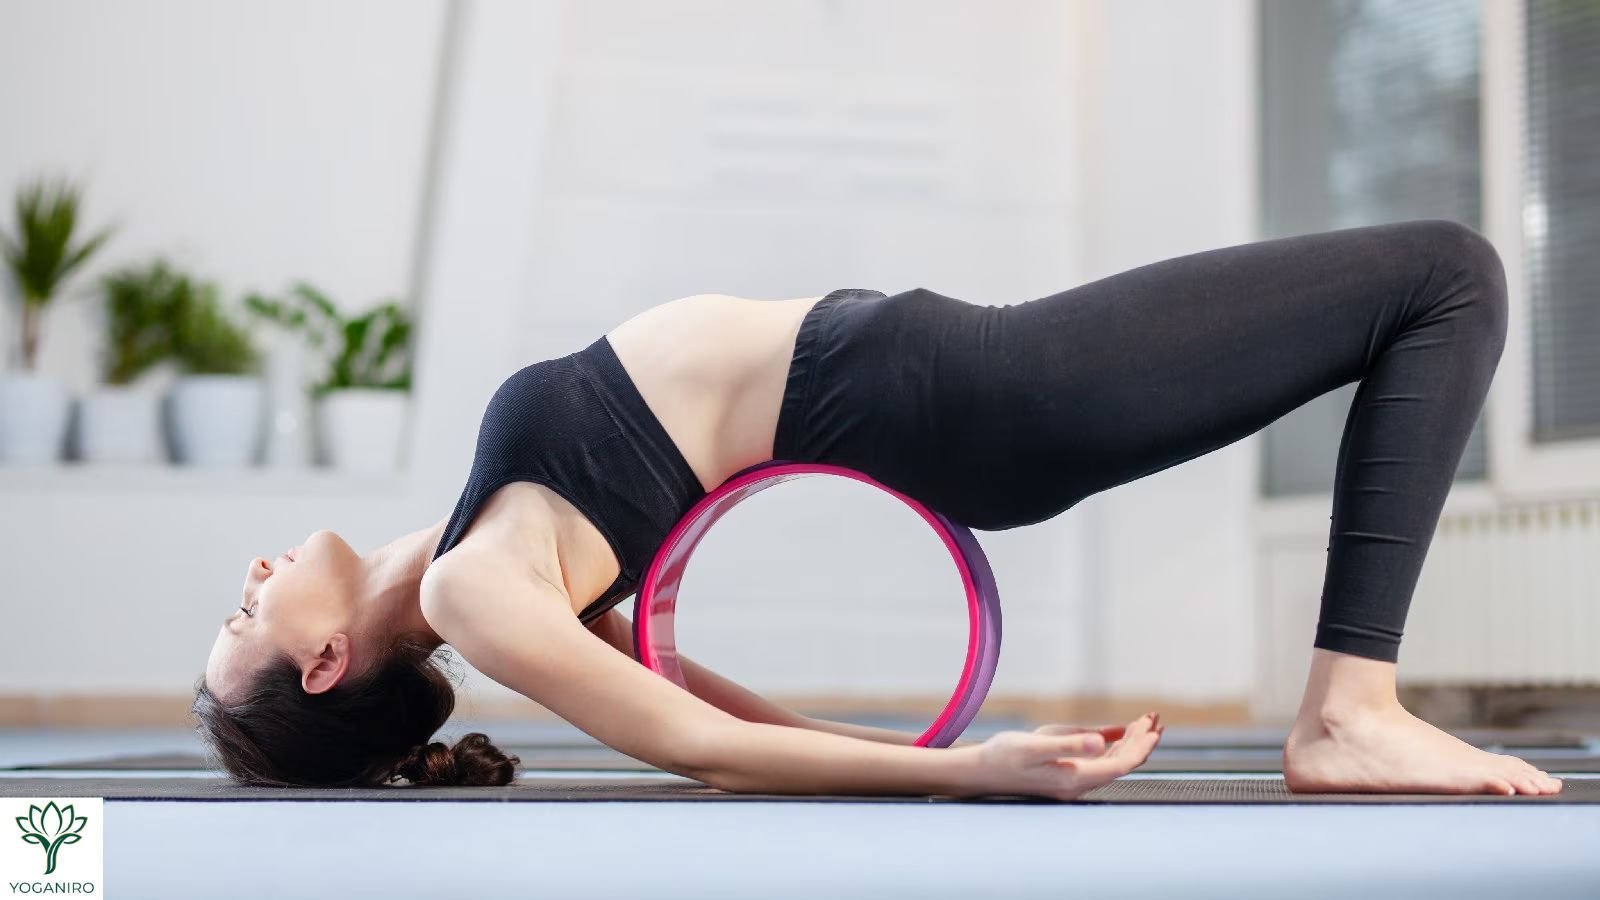
Yoganiro Yoga & Wellness · Last Updated: August 2026
Quick answer: You can make a DIY yoga wheel by wrapping a rigid 10–12 inch diameter pipe (PVC or ABS) in foam or a cut-up yoga mat and securing it with strong adhesive. Expect to spend about $30–60 and a couple of hours. A homemade yoga wheel only truly saves money if you already have the materials — and it must safely hold your full bodyweight (roughly 250–500 lb of load) before you use it for any backbend.
A yoga wheel is one of the simplest props in the studio: a sturdy hollow circle you roll along your spine, drape over for a supported backbend or use to open tight shoulders and hips. Because the yoga wheel design is so basic, plenty of practitioners wonder whether they can just make one.
The short version: yes, you can build your own DIY yoga wheel — but before you cut a single pipe, it pays to know when a homemade yoga wheel is a smart, money-saving project and when it’s a safety risk that isn’t worth it. This guide walks through a safe step-by-step build, an honest cost comparison, no-build yoga wheel substitutes you probably already own, how to size a wheel to your body and beginner-friendly ways to use it.
In this guide
- What a yoga wheel is for
- DIY vs. buy — the honest cost breakdown
- Safety and weight capacity
- Materials, tools and step-by-step build
- How to test it before you trust it
- No-build alternatives, sizing and how to use it
What Is a Yoga Wheel — and What Is It Actually For?
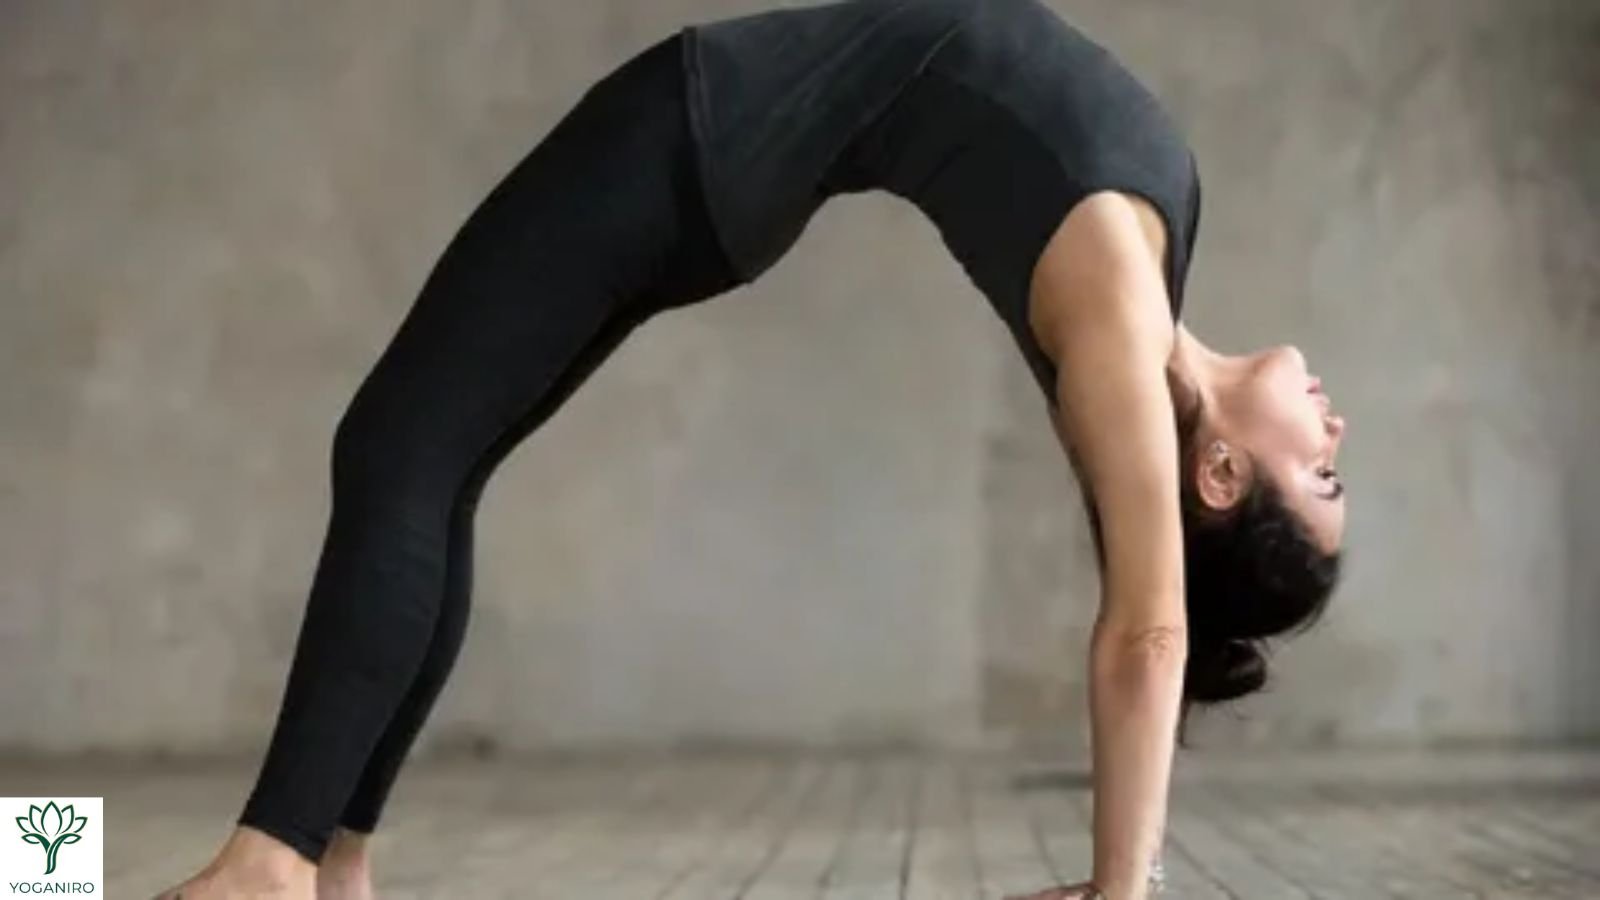
A yoga wheel is a hollow, rigid cylinder — usually 6, 10 or 12 inches in diameter and about 5 inches wide — with a padded outer surface. It’s sometimes called a “Dharma wheel,” after the Dharma Yoga Wheel popularized by yoga teacher Sri Dharma Mittra. You use the yoga wheel as a movable prop to:
- Open the chest and shoulders by draping your upper back over it.
- Support gentle backbends so your spine extends over a curved surface instead of hinging in one spot.
- Massage and mobilize the spine by rolling it slowly up and down your back.
- Add balance and core challenge in kneeling or standing drills.
- Deepen stretches for the hip flexors, side body and hamstrings.
If your main goal is gentle, restorative opening rather than deep backbends, a firm yoga bolster or a prop-supported yin yoga practice may give you most of the benefit with far less risk — worth keeping in mind before you commit to a yoga wheel build.
DIY vs. Buy: An Honest Yoga Wheel Cost Breakdown
Most “make your own yoga wheel” tutorials assume DIY is automatically cheaper. It isn’t always — so here are the real numbers.
What a homemade yoga wheel really costs
| Item | Typical DIY cost | Notes |
|---|---|---|
| Core (10–12″ rigid pipe) | $20–40 | True large-diameter PVC/ABS is a specialty item, not standard hardware-store pipe |
| Padding (foam or old mat) | $0–25 | Free if you upcycle an old yoga mat |
| Adhesive (contact cement / epoxy) | $5–10 | A strong bond is non-negotiable |
| Tools (saw, sandpaper) | $0–20 | One-time, if you don’t own them |
| Estimated total | ~$30–60 | — |
For comparison, a rated commercial yoga wheel runs about $25–45, typically holds 300–550 lb and comes ready to use. (Premium cork or wood yoga wheels run more — roughly $99–149 — but even the budget end is weight-rated and ready out of the box.) So the honest takeaway: a DIY yoga wheel is only meaningfully cheaper if you already have a rigid core and padding on hand.
When making your own yoga wheel makes sense
- You already have leftover large-diameter pipe and an old mat to upcycle.
- You want a custom size or width you can’t easily buy.
- You enjoy the project and the sustainability angle of reusing materials.
When you should just buy one
- You want a guaranteed weight rating for full backbends.
- You can’t source genuinely rigid 10–12″ pipe.
- You’re short on time or tools — a $30 tested yoga wheel wins.
Is a Homemade Yoga Wheel Safe?
Weight capacity is everything. When you lie back over a yoga wheel, you load a large share of your bodyweight onto a small contact area. Commercial yoga wheels are engineered and rated for 300–550 pounds of load. A DIY yoga wheel is only as safe as its core: a thin or brittle tube — especially cardboard concrete-form tubing — can flex or crack mid-backbend and drop you. That’s a fall-and-injury risk, not just a broken prop.
To stay safe:
- Use a genuinely rigid core and test it thoroughly (next section).
- Warm up your back, hips and shoulders first.
- Always practice over a mat near a wall and never force a range that hurts.
- If you’re new to backbends, pregnant or have any spine, neck or disc condition, check with a qualified teacher or your doctor first. Per the U.S. National Center for Complementary and Integrative Health (NCCIH), yoga is generally safe for healthy people when practiced properly and with qualified guidance — the caveats matter most with load-bearing props like a yoga wheel.
What You’ll Need: Materials & Tools
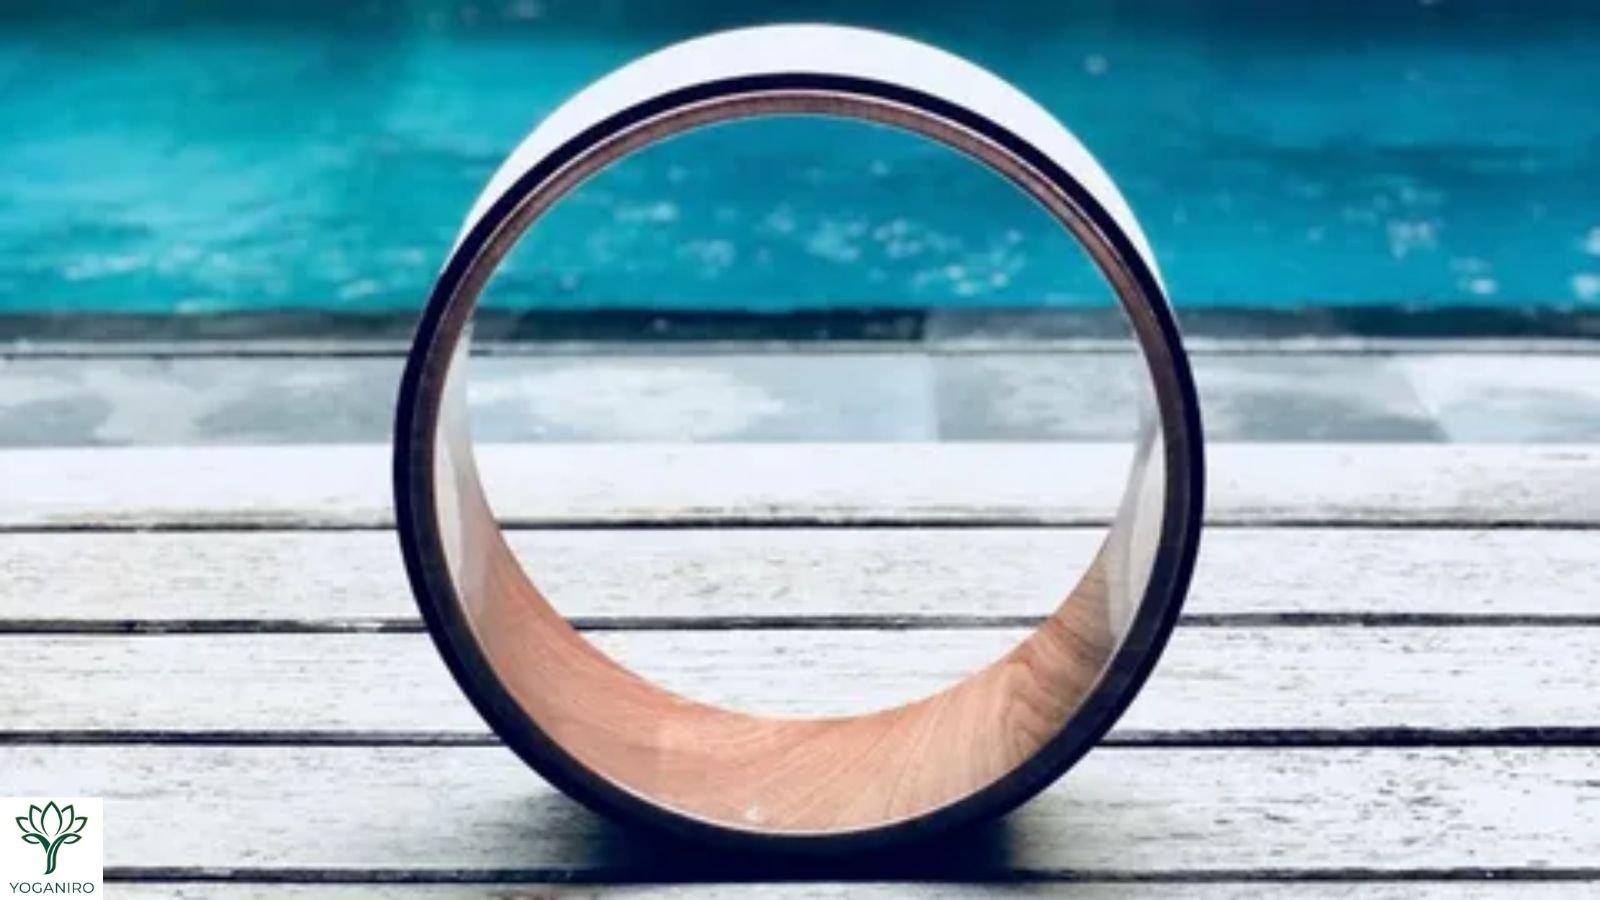
Getting the yoga wheel core right matters more than anything else in this build.
The core (get this part right)
- A 10–12 inch diameter rigid pipe, cut to about 5 inches wide. Schedule 40 PVC or ABS is ideal. Large-diameter pipe is usually a specialty order rather than a standard hardware-store size.
- Avoid cardboard concrete-form tubes for anything beyond very light, seated use — they’re not reliable under a full backbend.
Padding options
- 6–8 mm EVA or NBR foam.
- An old yoga mat cut into a strip roughly 5 inches wide and ~40 inches long (enough to wrap a 12-inch yoga wheel’s circumference with a slight overlap). Upcycling a mat is the cheapest, greenest option.
Adhesive & finishing
- Contact cement, epoxy or heavy-duty double-sided carpet tape for a durable bond.
- Sandpaper, a tape measure, a marker, scissors or a utility knife, a saw (if you need to cut the pipe) and gloves.
How to Make a DIY Yoga Wheel: Step by Step
- Cut and smooth the core. Cut the pipe to about 5 inches wide. Sand both cut edges until they’re smooth so they won’t dig in or tear the padding.
- Measure your padding. Multiply the diameter by 3.14 to get the circumference (a 12-inch yoga wheel ≈ 37.7 inches). Cut your foam or mat strip to that length plus about an inch of overlap, matching the core’s width.
- Dry-fit first. Wrap the padding around the core without glue to confirm the length and alignment before committing.
- Apply adhesive. Coat the core (and the back of the padding, if using contact cement) per the product’s directions. Let it tack up if the product calls for it.
- Wrap tightly. Press the padding onto the core, smoothing as you go to avoid bubbles and gaps. Keep the edges aligned and press the seam firmly.
- Secure and cure. Tape or clamp the seam and overlap, then let it cure fully — up to 24 hours for epoxy or contact cement.
- Trim and clean up. Trim any overhang, sand rough spots and wipe the surface clean.
- Inspect. Check that the seam is flush, the padding is secure and the core feels solid with no flex.
How to Test Your DIY Yoga Wheel Before You Trust It
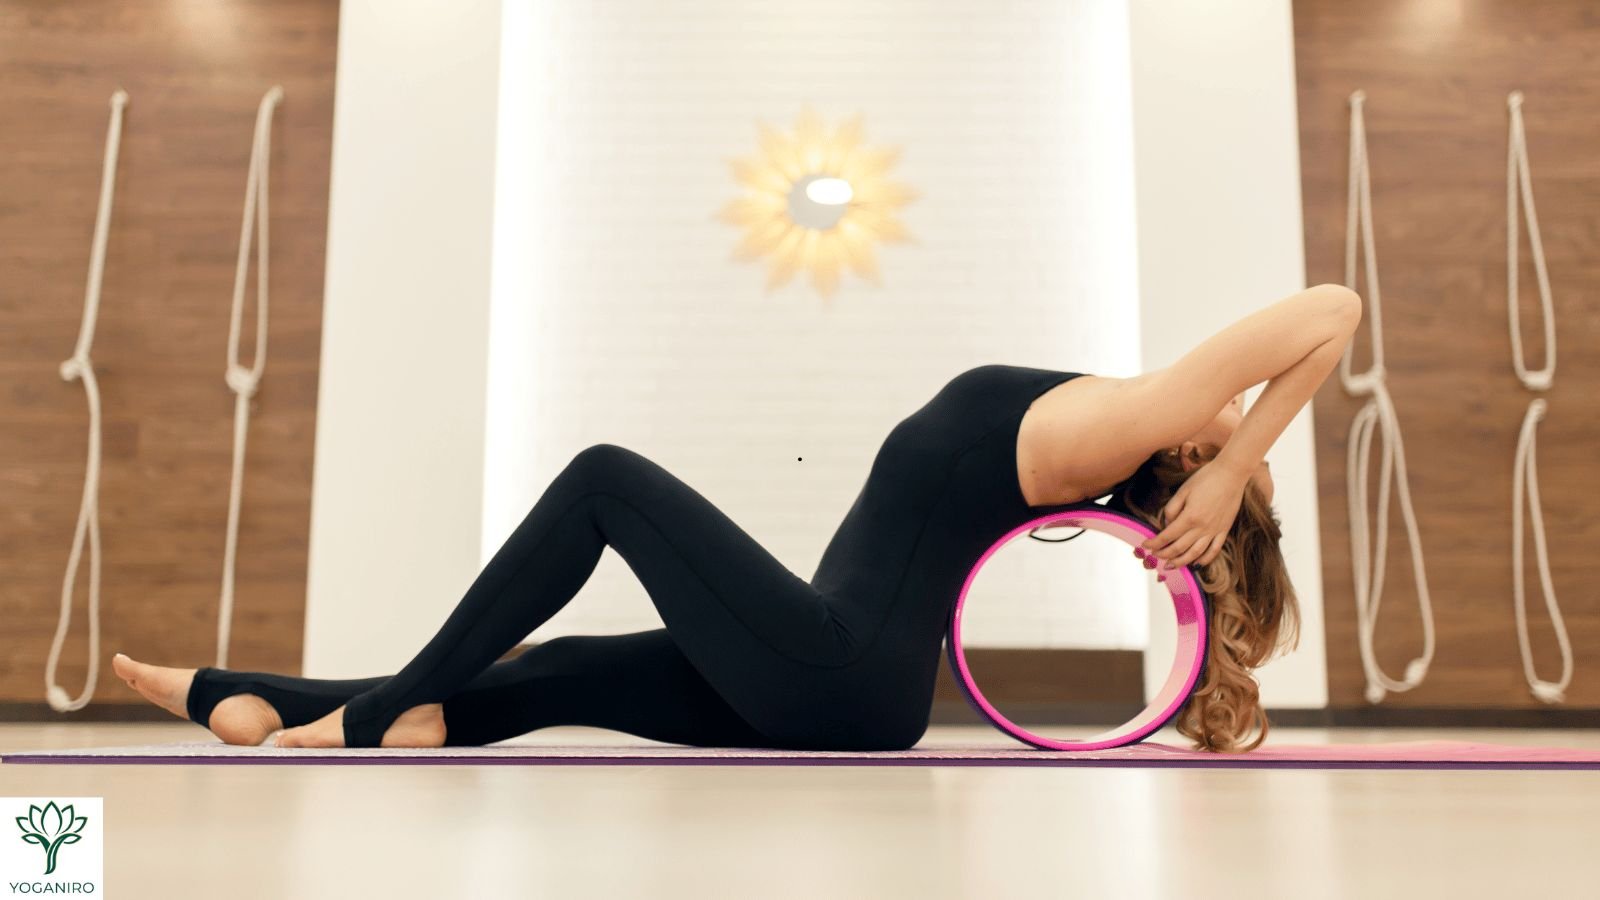
Never go straight into a backbend on a fresh DIY yoga wheel. Instead:
- Set it on the floor and press down hard with both hands, leaning in with your bodyweight. Watch and listen for flex, creaking, cracking or the seam lifting.
- If it holds, kneel and apply partial weight over a mat and near a wall.
- Progress slowly over several sessions and re-check the adhesive and core after the first few uses. If anything shifts or sounds off, stop and rebuild or buy a rated yoga wheel.
No-Build Yoga Wheel Alternatives You Already Own
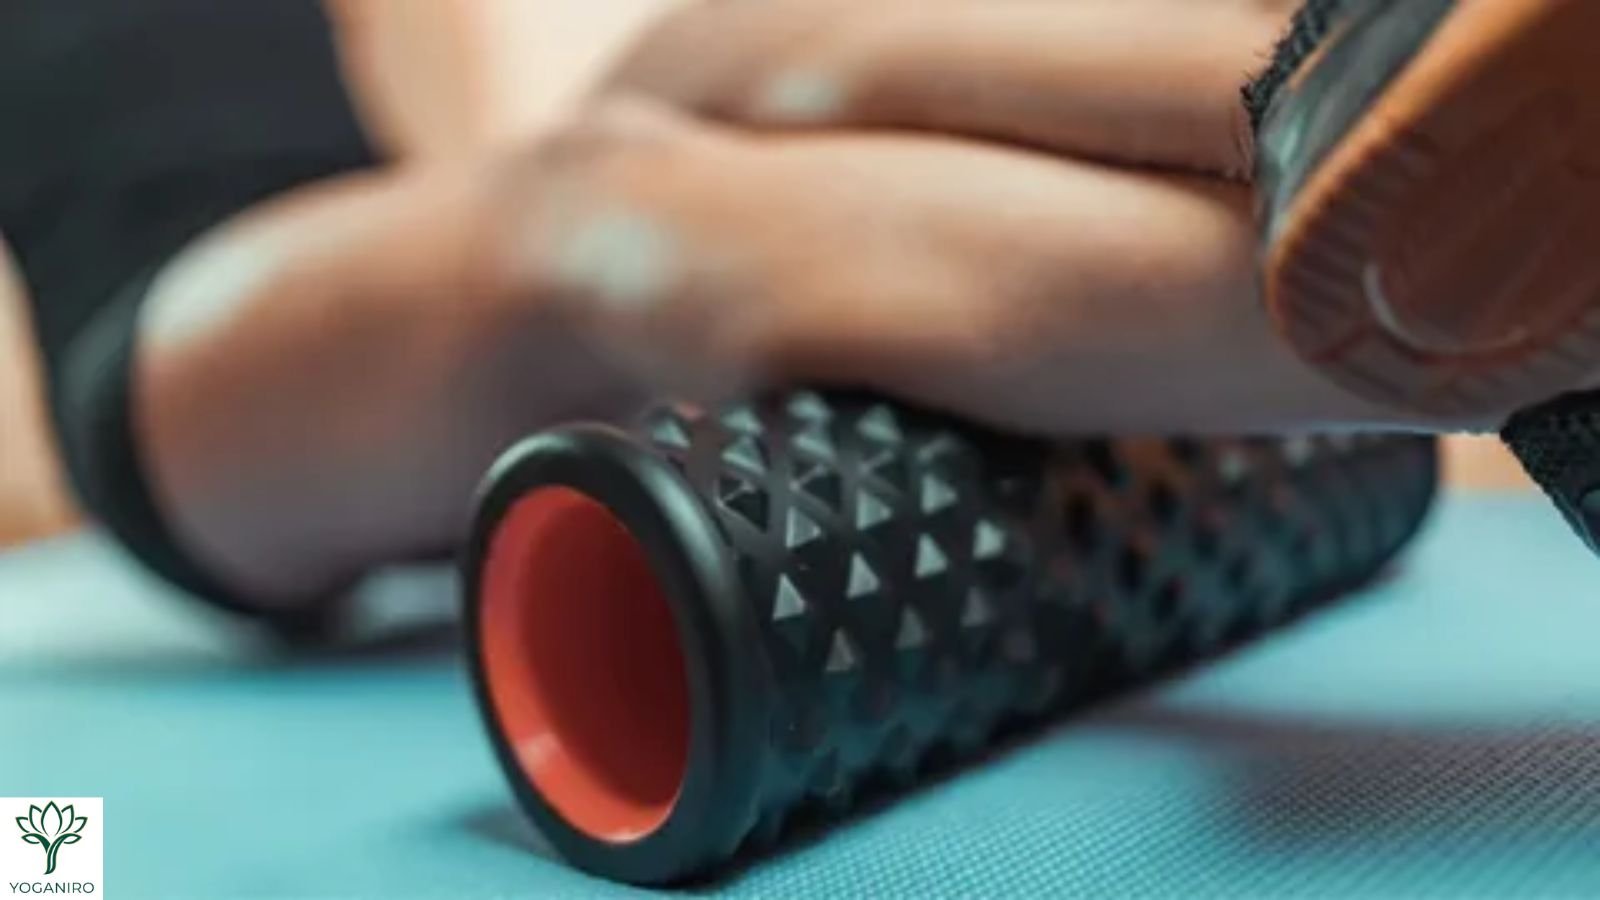
If you’re not confident in a DIY yoga wheel build, these household substitutes safely cover many of the same uses:
- Foam roller — excellent for rolling and massaging the spine; less suited to deep backbends.
- Firm yoga bolster or tightly rolled blankets — great for gentle supported backbends, chest opening and calming yin yoga practice.
- Stability ball — mobile support for supported backbends, though less precise than a yoga wheel.
- A rolled-up yoga mat with a towel — mild support for beginners easing into extension.
For a lot of beginner goals, these are actually safer than a questionable homemade yoga wheel.
What Size Yoga Wheel You Need (and How to Use It)
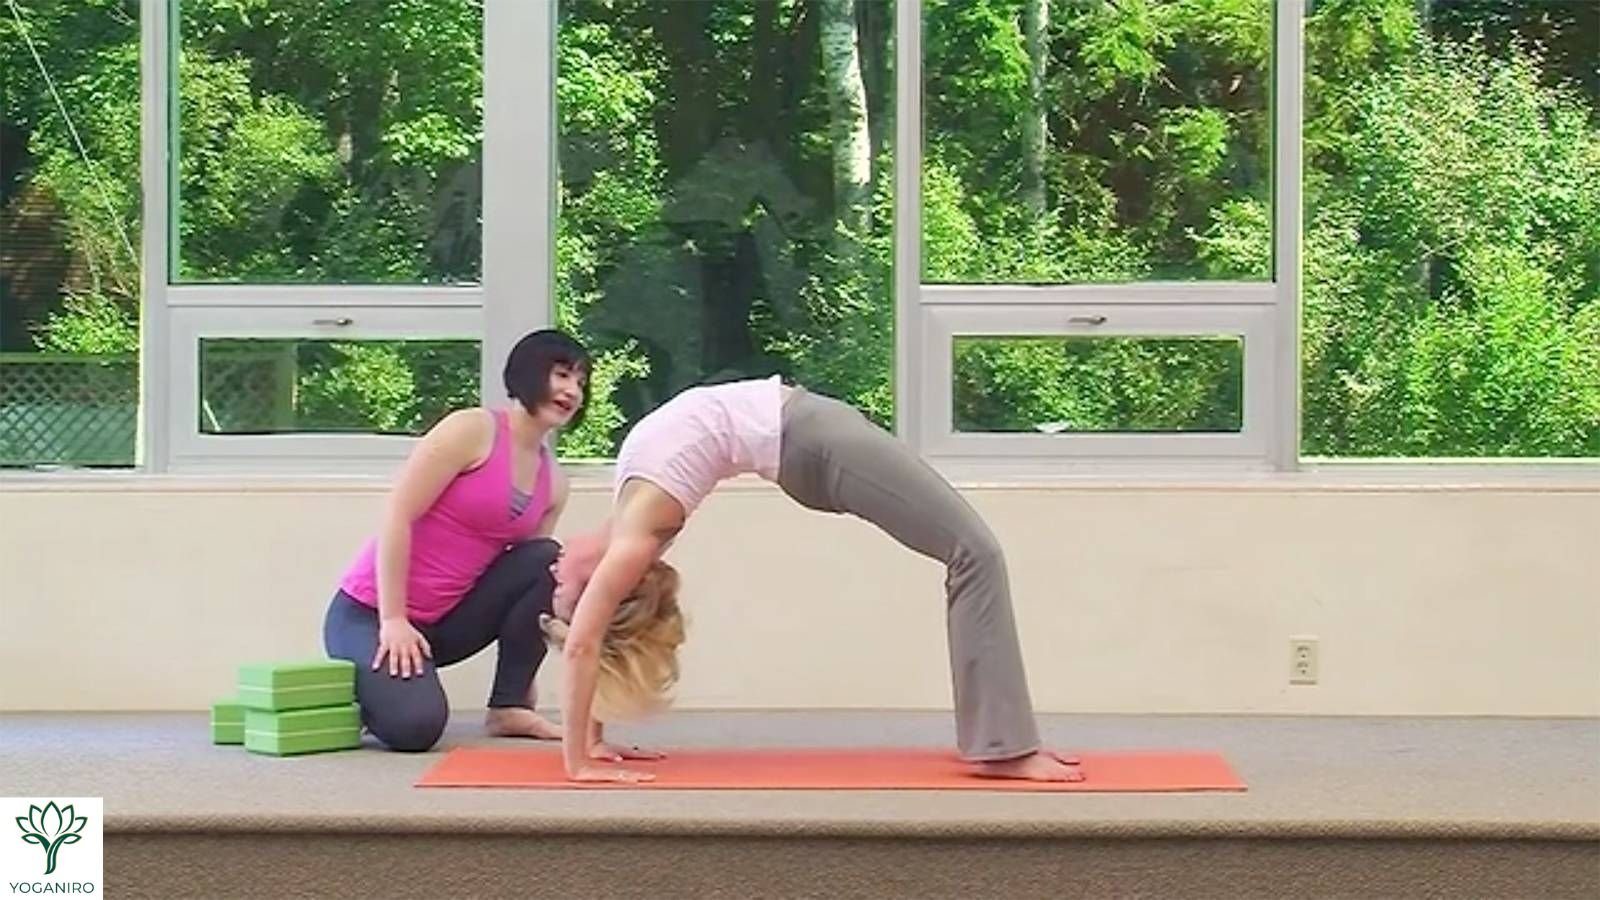
Use this quick yoga wheel sizing guide:
| Your height | Suggested diameter |
|---|---|
| Under 5’4″ | 10″ (or 6″ for targeted spinal work) |
| 5’4″ – 5’10” | 12″ (the standard) |
| Over 5’10” | 12″+ |
Width is usually ~5 inches. A wider yoga wheel gives more back support and stability; a narrower one gives a more targeted spinal massage. Diameter also changes the pose itself — a smaller yoga wheel creates a deeper, more targeted backbend, while a larger one spreads the curve out and feels more supportive. Beginners generally do best with the standard 12″ × 5″ size.
Once you’ve sized your yoga wheel, try these five beginner-friendly ways to use it:
- Spinal roll / thoracic massage. Sit with the yoga wheel behind you, lie back over it and roll slowly up and down your upper back to release tension.
- Supported fish (heart opener). Rest your upper back on the wheel with hips on the floor and arms open to gently open the chest.
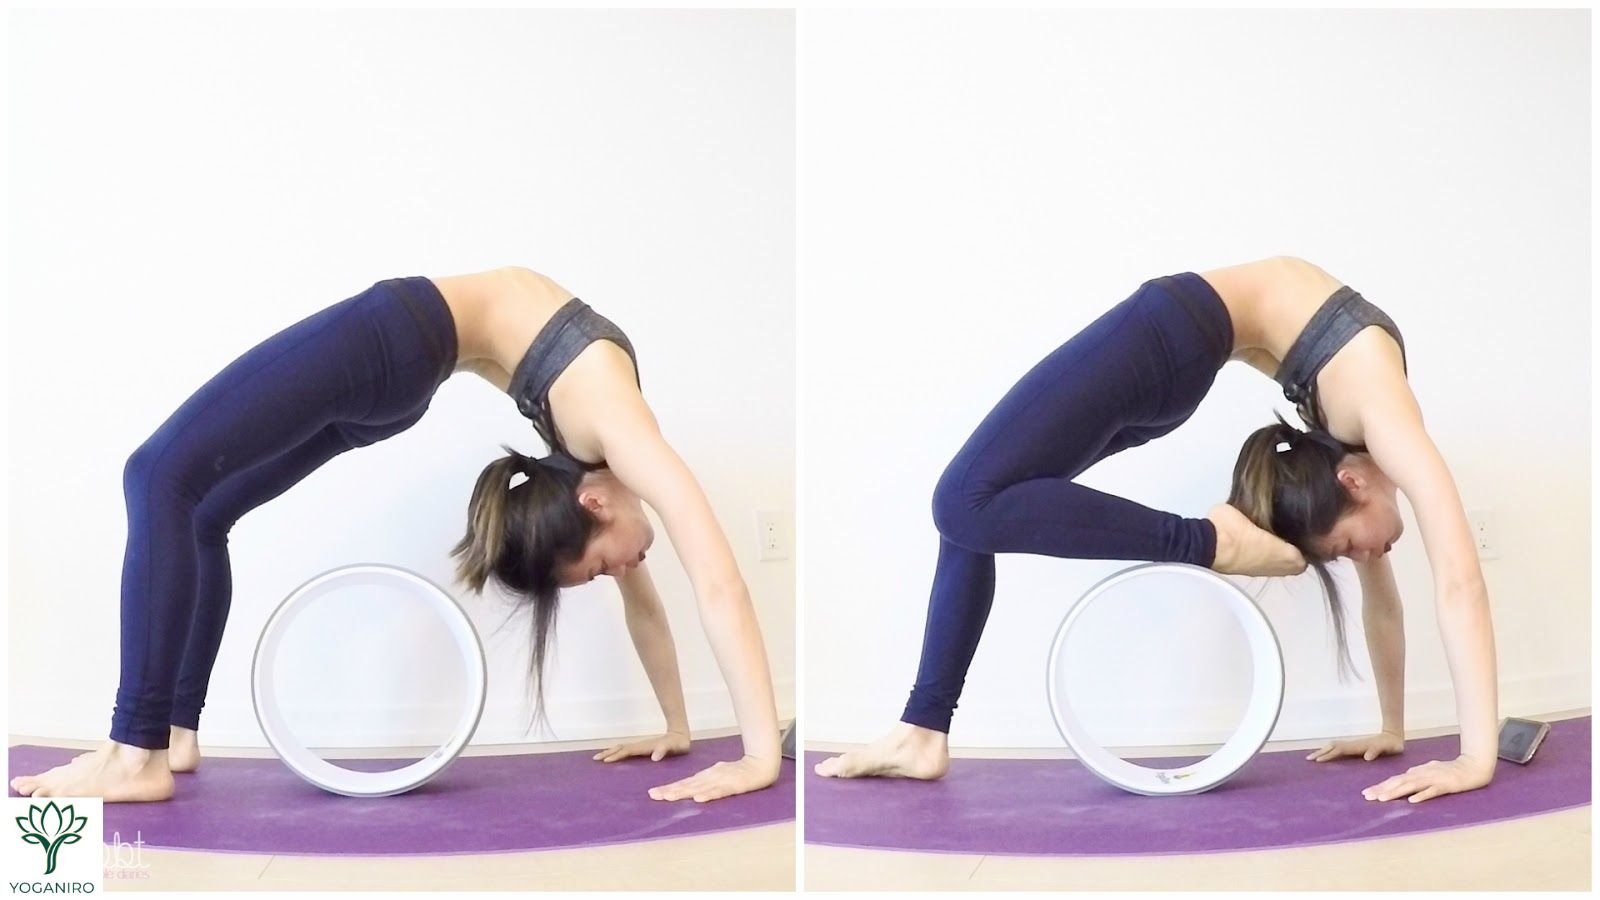
- Gentle supported backbend. Drape your mid-back over the yoga wheel and let it curve your spine evenly instead of hinging at one point.
- Shoulder and chest opener. Kneel and place your hands on the wheel, then roll it forward to lengthen through the shoulders and side body.
- Core and balance (advanced). Kneel with your shins on the yoga wheel and hold for a controlled core challenge — only once your build is fully tested.
Move slowly, keep the wheel on a mat and stay near a wall while you learn.
Common DIY Yoga Wheel Mistakes to Avoid
- Using a cardboard or thin, brittle core for load-bearing poses.
- Skipping the weight test before your first backbend.
- Padding that’s too thin or too slippery to grip.
- A weak adhesive bond that lets the padding slide.
- Jumping into a full yoga wheel backbend on day one, with no warm-up.
Frequently Asked Questions About DIY Yoga Wheels
Can you make your own yoga wheel?
Yes. Wrap a rigid 10–12 inch pipe in foam or a cut yoga mat and secure it with strong adhesive. The DIY yoga wheel must safely hold your full bodyweight before you use it for backbends.
What can I use instead of a yoga wheel?
A foam roller, a firm bolster, tightly rolled blankets or a stability ball can replace many yoga-wheel stretches — and are often safer for beginners.
Is a DIY yoga wheel actually cheaper than buying one?
Not always. A rated commercial yoga wheel runs about $25–45, while DIY materials often total $30–60 unless you already own a rigid core and padding.
What is a yoga wheel made of?
Most commercial yoga wheels use an ABS or PVC plastic core with TPE, EVA foam or cork padding. DIY versions typically use pipe wrapped in foam or an old yoga mat.
How much weight should a yoga wheel hold?
Commercial yoga wheels are usually rated for 300–550 pounds. A DIY yoga wheel should comfortably hold well beyond your bodyweight, with a safety margin, before you use it.
What size yoga wheel is best for beginners?
The standard 12-inch diameter, ~5-inch-wide yoga wheel suits most people. Shorter practitioners may prefer a 10-inch wheel; a 6-inch wheel is for targeted spinal work.
Are yoga wheels good for back pain?
Many people find a yoga wheel helps gently open the chest and release upper-back tension though it isn’t a cure and can aggravate some conditions. The evidence on yoga for low-back pain is mixed; if you have back problems, get guidance from a professional first.
Is it safe for beginners to use a yoga wheel?
Yes, with a warm-up, slow progression, a mat and a wall nearby. Use extra caution — or skip it — if you’re pregnant or have spine, neck or disc issues.
Final thoughts
A DIY yoga wheel can be a genuinely rewarding, low-cost project if you already have a rigid core and want a custom size — just be honest about the safety and cost trade-offs. For many practitioners, a tested $30 yoga wheel, a foam roller or a firm bolster is the smarter, safer choice. Whatever you roll with, warm up, test your gear and progress slowly.
About Yoganiro
Yoganiro is a yoga and wellness publication focused on clear, practical guidance. Our editorial content is reviewed for clarity, safety, and source quality. We update articles when reliable guidance changes. Questions or corrections? Reach out through our contact page.

Yoganiro was founded by Abdul Rehman with a passion for yoga, wellness, and mindful living. The goal behind Yoganiro is to inspire people through simple yoga practices, wellness tips, and healthy lifestyle content that promotes balance, peace, and overall well-being.