

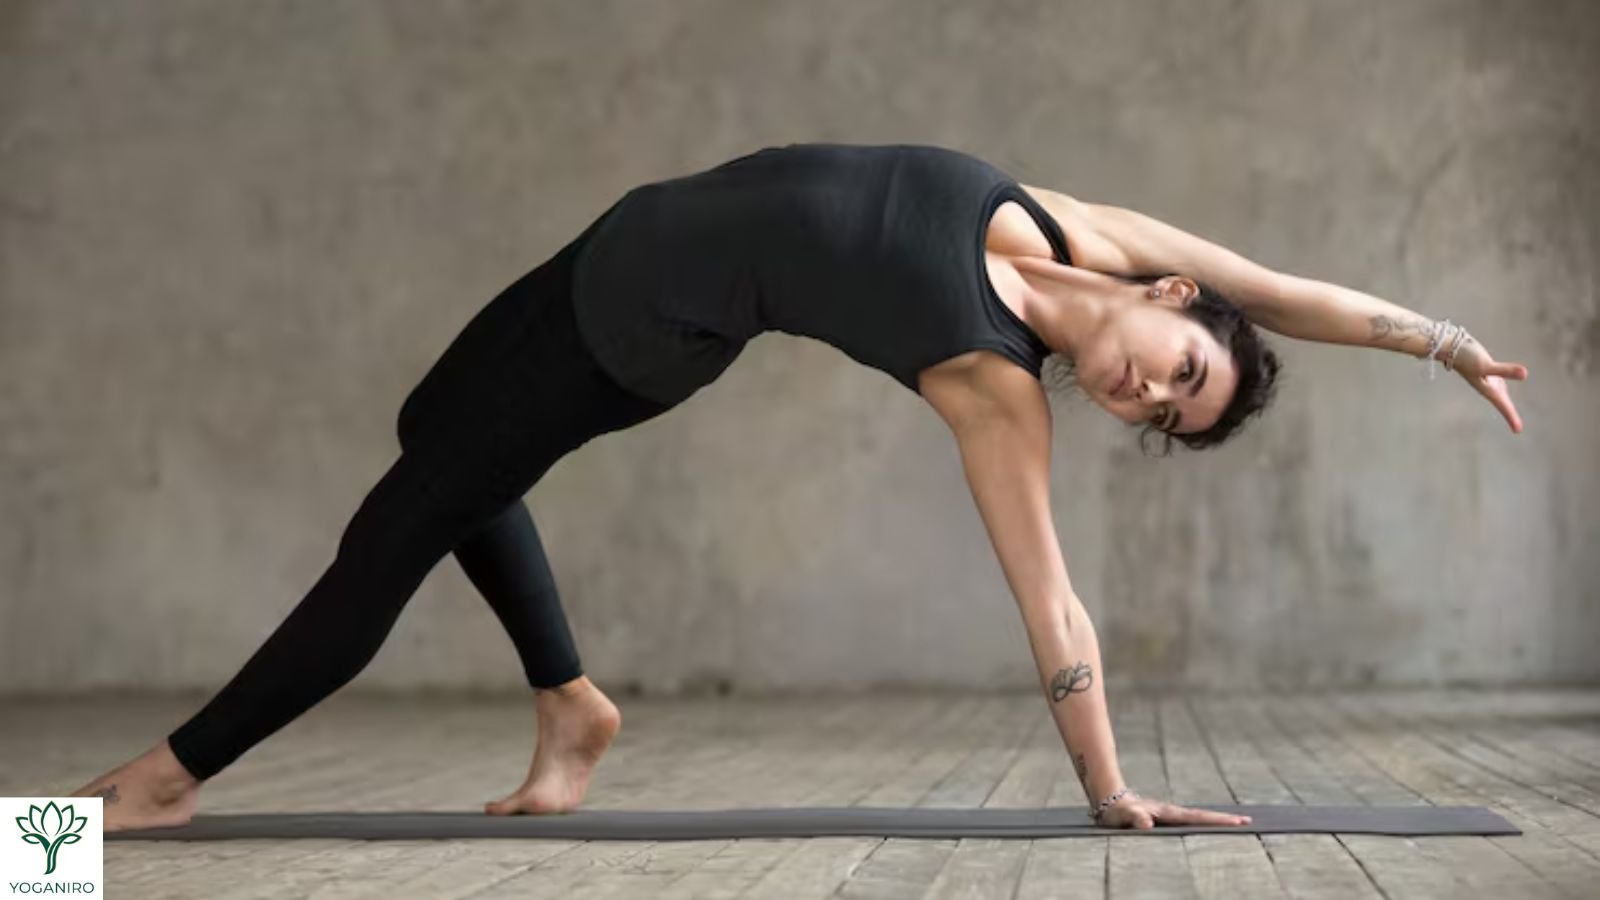
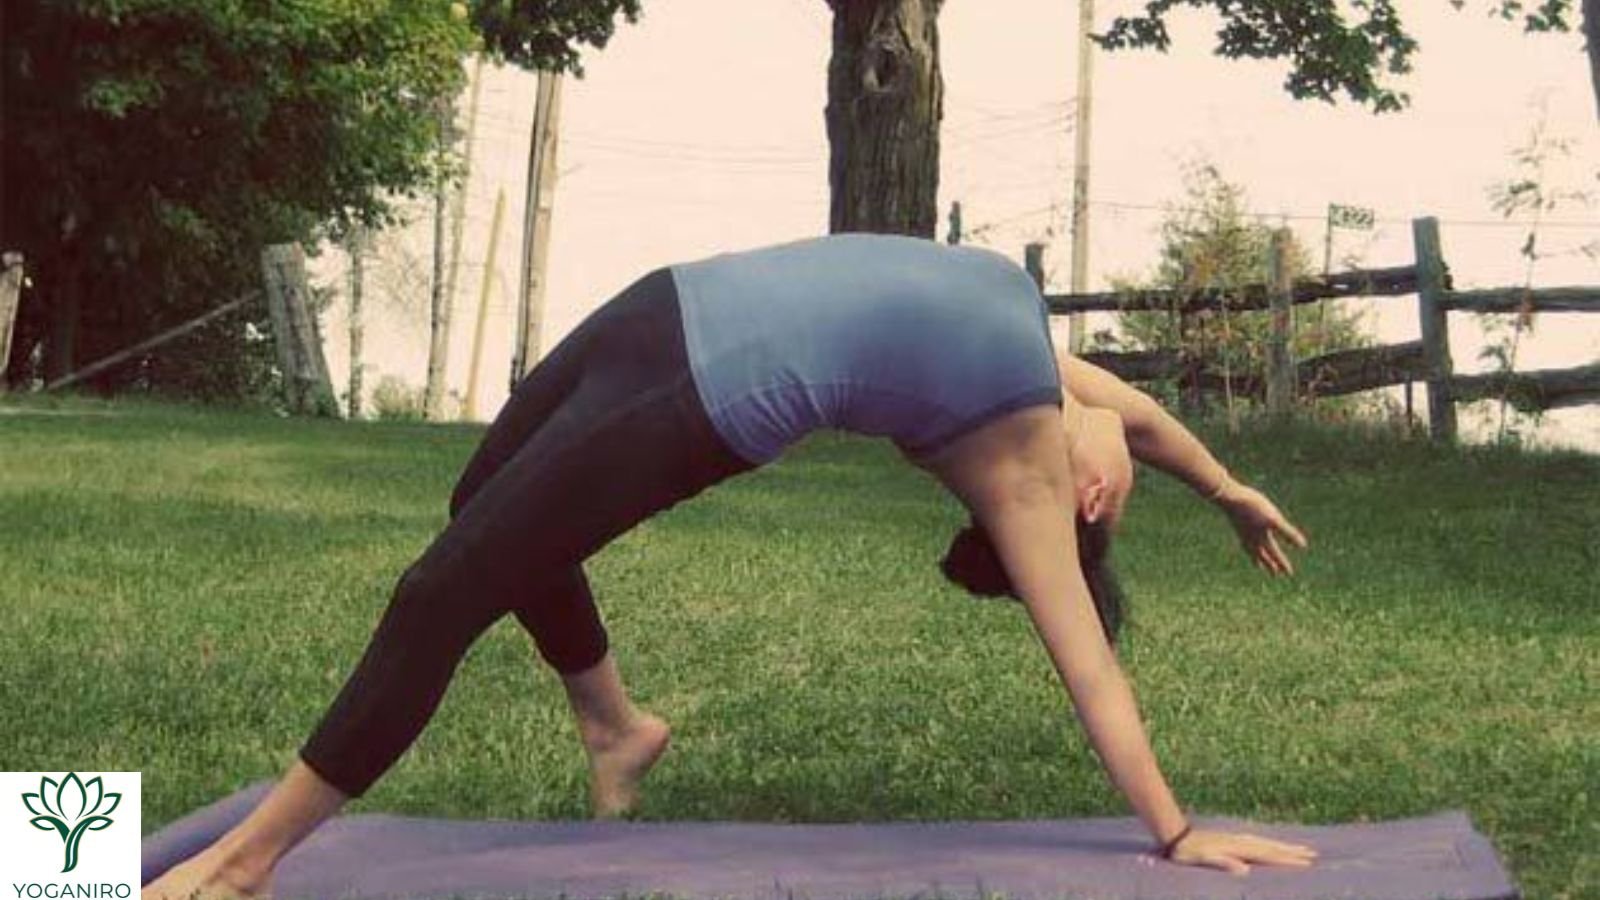
The wild thing pose, also called Camatkarasana, is a backbend supported by one hand and both feet. One leg stays long, the other knee bends, and the chest turns upward as the free arm reaches overhead. Learning the foot placement and return movement makes the shape easier to understand.
This guide teaches a knee-down preparation first, followed by a full version entered from Side Plank. You can practice the preparation without progressing to the full pose.
Quick answer: Wild Thing combines sideways arm support with a backbend. From Side Plank, the top foot steps behind the body before the chest opens upward. It is a demanding intermediate pose, so learn the entry and exit with qualified guidance if the transition is unfamiliar.
What Makes Wild Thing Challenging?
Wild Thing asks you to maintain support through one arm while changing your foot placement and turning your body. The transition can feel more complicated than the final position.
The supporting shoulder is an important consideration. In her discussion of Wild Thing and shoulder loading, yoga teacher Rachel Land explains the demands of the position and describes her preference for entering from Side Plank. That is a teaching approach, not a guarantee that the pose suits everyone.
This guide uses two difficulty labels:
| Label | What it means |
|---|---|
| Easier preparation | Knee-down Side Plank with a small chest opening |
| Intermediate variation | Full Wild Thing entered from Side Plank |
“Easier” is relative. The preparation still loads the supporting wrist and shoulder.
Teachers may also call Wild Thing a “heart opener.” Here, that describes the chest-opening shape, not a medical benefit.
Before You Try It
Explore the Related Movements
Before adding the backbend, become familiar with supporting weight through your hands and practicing an appropriate Side Plank variation.
Ask yourself:
- Can I maintain the starting position without pain?
- Can I breathe comfortably while supporting my weight?
- Do I understand where the moving foot will land?
- Can I explain how I will return to the floor?
These questions help identify what needs practice. They are not a readiness test or medical clearance.
Yoganiro’s intermediate yoga poses guide includes separate instructions for knee-down and full Side Plank.
Prepare Your Space and Warm Up
Use a nonslip mat on a stable floor. Leave clear space behind and beside you, including beyond the edge of the mat where the moving foot might land.
Begin with familiar, comfortable movements:
- Gentle wrist movements and small weight shifts on hands and knees.
- Cat–Cow within a comfortable range.
- A small, familiar backbend, such as low Cobra.
- Knee-down Side Plank on both sides.
Keep a folded blanket nearby for knee padding. Place it beneath the knee rather than under the supporting hand.
YogaEasy’s Wild Thing preparation guide emphasizes preparation, Side Plank practice, and gradual transitions.
When to Skip the Pose or Get Guidance
If you have an existing wrist, shoulder, neck, or back injury—or a history of shoulder instability—seek individual advice before attempting the full pose.
Pregnancy and health conditions affecting balance or exercise tolerance may also require adjustments. The National Center for Complementary and Integrative Health’s yoga safety guidance recommends discussing individual needs with a healthcare professional and yoga instructor.
Stop if you experience pain, numbness, tingling, dizziness, or a feeling that your supporting arm may give way. Persistent or recurring symptoms need medical assessment.
Easier Preparation: Knee-Down Side Plank With a Gentle Chest Opening
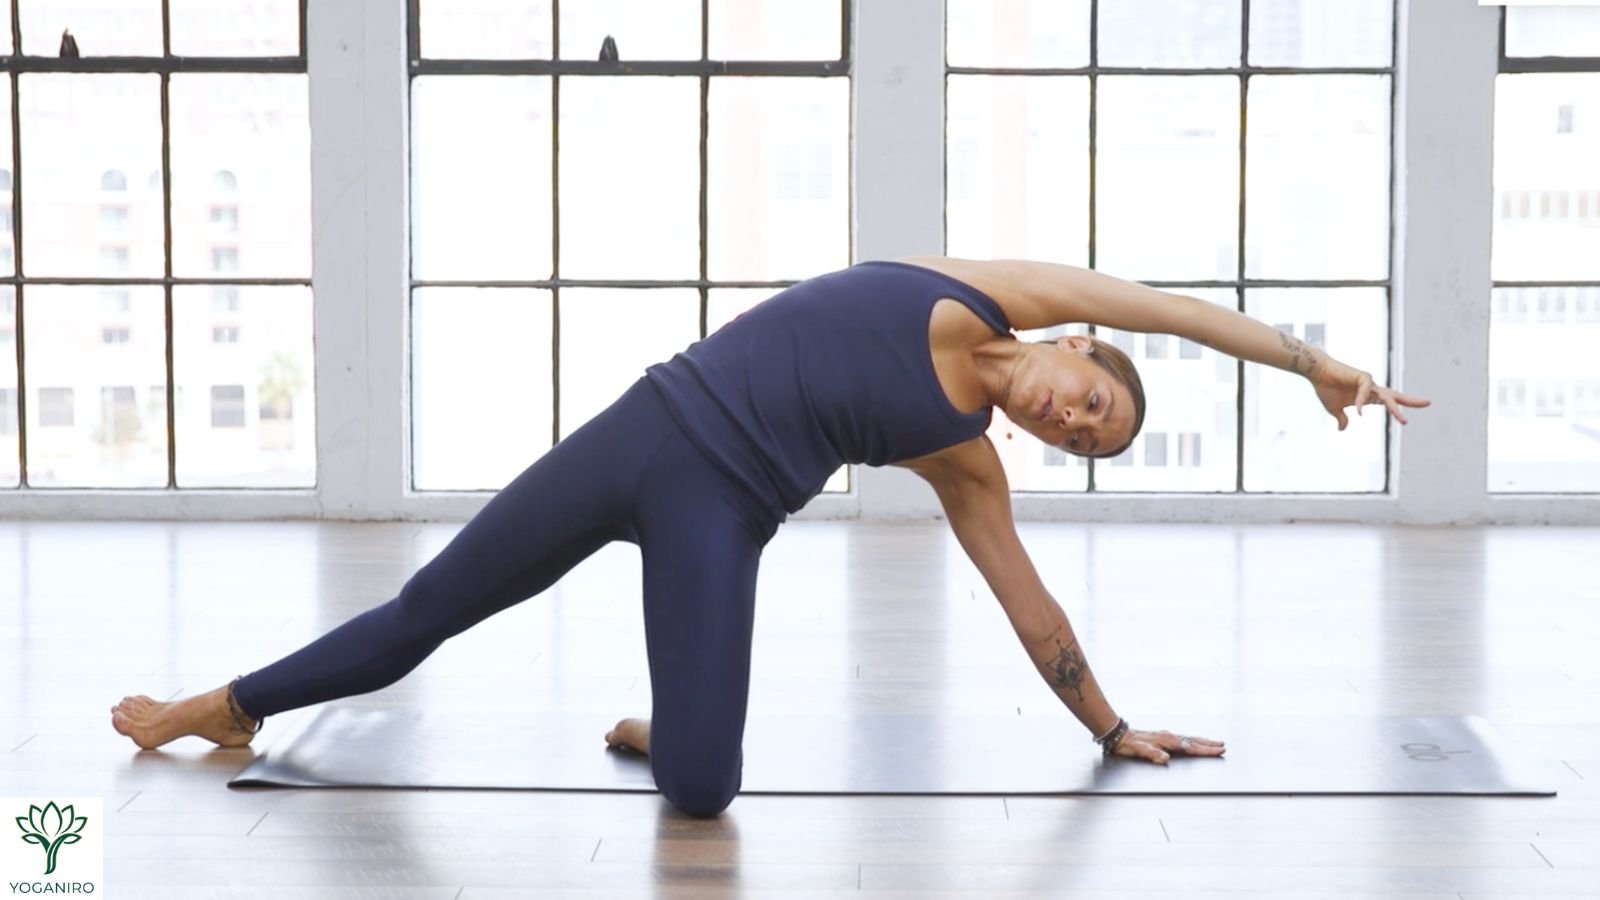
Difficulty: Easier preparation
This version introduces sideways support and a small chest opening while keeping one knee on the floor. Practice its return movement before considering the full pose.
Set Up From Hands and Knees
- Begin on all fours, with your right hand beneath your right shoulder and your right knee beneath your hip.
- Extend your left leg behind you.
- Turn your chest to the left and place your left foot firmly on the floor. Adjust your right shin so it supports your balance, with the lower leg angled toward the right side of the mat.
- Rest your left hand on your hip. Keep your right palm grounded.
Explore the Opening and Return
- Press through your right hand, right knee, and left foot.
- Turn your chest slightly upward.
- Keep your left hand on your hip, or reach it upward and gently overhead.
- Maintain a comfortable head position and take an easy breath.
- Bring your left hand back to the mat as your chest turns downward.
- Return your left knee to all fours. Rest before switching sides.
The Yoga Collective describes a knee-down alternative to Wild Thing. Its support points differ from the full pose.
For other options, explore Yoganiro’s supported yoga poses for balance.
How to Do Wild Thing Pose From Side Plank
Difficulty: Intermediate variation
These instructions use your right hand for support and your left foot as the moving foot. Read the entry and exit before beginning.
If you cannot picture the transition, ask a qualified teacher to demonstrate it. A written description is most useful when you can connect it to a movement you understand.
Establish Your Side Plank
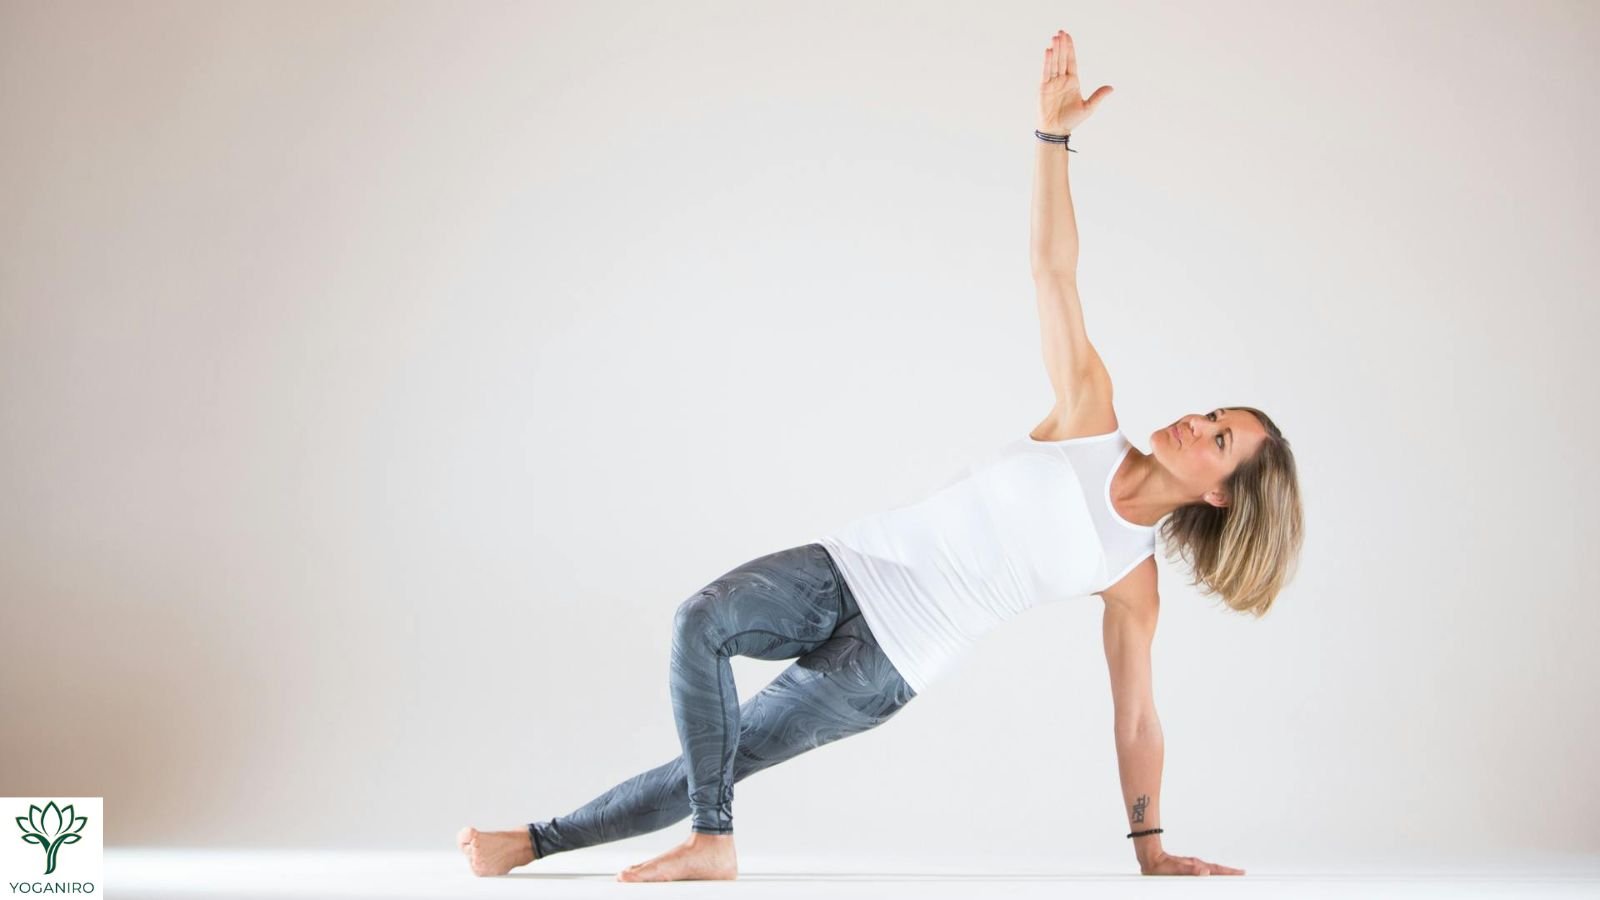
- Begin in Plank with your palms grounded, fingers spread, and shoulders over your wrists.
- Shift your weight into your right hand and roll onto the outer edge of your right foot.
- Turn your chest left, lift your left hand, and stack your left foot over your right.
- Place your left hand on your hip and keep your hips lifted.
Pause here. If the starting position feels unstable or uncomfortable, return to all fours instead of adding the backbend.
Enter the Backbend
- Bend your left knee and move that foot behind your body.
- Place the ball of your left foot on the floor, roughly beneath your left hip. Keep the knee bent and your right leg long.
- Press through your right hand and both feet.
- Lift your hips and gradually turn your chest upward.
- Keep your left hand near your chest, or extend the arm overhead.
- Choose a comfortable head position and take a brief breath.
Avoid reaching farther simply to match a photograph. Your foot placement and support should feel established before you increase the opening.
Return to Plank and Rest
- Turn your gaze toward the mat and bring your left arm back toward the floor.
- Press through your right hand and right foot as your chest and pelvis rotate toward the mat.
- As part of that turn, lift your left foot from behind you and return your left hand to the floor.
- Bring your left toes down beside your right to return to Plank.
- Lower your knees and rest.
The moving hand, torso, and leg work together; these are not separate positions to hold. Practice the opposite side only after resetting.
Yoga Journal’s guide with Sara Clark describes the bent-leg placement and return to Plank.
Common Difficulties and Useful Adjustments
| What you notice | What to do |
|---|---|
| You cannot picture where the moving foot lands. | Review the setup before attempting it. Ask a teacher to demonstrate the foot placement. |
| Your supporting shoulder feels unstable. | End the attempt and get help choosing an appropriate preparation. |
| Your wrist hurts. | Stop painful loading. The knee-down version still uses the wrist and may not be suitable. |
| Your lower back feels pinched. | Leave the pose. Reassess the range and setup before another attempt. |
| Reaching overhead bothers your neck. | Keep the free hand closer to your chest and use a comfortable gaze. Stop if symptoms continue. |
| Your foot or hand slips. | Stop and check the surface and spacing before trying again. |
| You rush when coming out. | Rehearse the easier preparation’s return and learn the full exit with guidance. |
A smaller movement may help you explore the position, but pain is not a cue to keep experimenting under load.
What Does Wild Thing Help You Practice?
The clearest way to understand wild thing pose benefits is to consider its movement demands.
- Body-weight support: Your planted hand and feet provide a foundation while you maintain the position.
- Coordination: You move a foot and turn your body without abandoning that support.
- Backbending: You explore an opening across the front of the body within your available range.
- Awareness of effort: You notice whether you can breathe comfortably and leave the pose deliberately.
These are practical aspects of the movement, not promises of specific health outcomes. There is no need to achieve a deep backbend or a particular emotional response for the practice to be worthwhile.
Where It Fits in a Yoga Practice
Explore Wild Thing after relevant preparation, while you still feel able to control the transition. It does not need to appear in every session.
A Suggested Practice Structure
This is a flexible practice suggestion, not a researched treatment program. No fixed session length or continuous hold is required.
| Stage | What to practice |
|---|---|
| Warm up | Comfortable wrist, shoulder, and spinal movements |
| Rehearse support | Knee-down Side Plank on each side |
| Explore the opening | The knee-down chest-opening preparation |
| Optional full pose | A brief Wild Thing attempt on each side, if appropriate |
| Rest | Return to all fours, then choose a comfortable seated or lying position |
Take breaks between stages. You can finish after the preparation.
End With a Quiet Pause
Settle into a comfortable position and let your breathing return to its usual rhythm.
If you would like a simple focus for that pause, Yoganiro’s meditation for beginners guide explains several ways to begin.
Frequently Asked Questions
Can Beginners Learn Wild Thing Pose?
Beginners can learn the related movements and knee-down preparation with appropriate guidance. The full Wild Thing pose is a more demanding option because it combines one-arm support, a backbend, and a changing base of support.
Start with the preparation and learn its exit. Moving to the full version is optional.
How Long Should I Hold Wild Thing?
For an initial attempt, one or two comfortable breaths may be enough. This is a practical suggestion, not a proven or required duration.
Come out sooner if your breathing becomes strained or your support feels less steady. You do not need to extend the hold each time you practice.
Do I Need to Learn Wheel Pose First?
Wheel is not part of the preparation sequence taught here. This guide focuses on Side Plank support, a manageable chest opening, and a controlled transition.
Being able to perform Wheel or another backbend does not automatically establish readiness for Wild Thing.
Is Wild Thing the Same as Flip Dog?
Teachers sometimes use the terms interchangeably, but “flip your dog” can describe a transition into different backbending shapes.
Here, Wild Thing means the position supported by one hand and both feet, with one leg long and the other knee bent. Ask your teacher which shape they intend if a class cue is unclear.
Final Thoughts
Wild Thing Pose becomes easier to understand when you identify the support points and learn the return movement before increasing the backbend.
Start with knee-down Side Plank and its exit. If you want to explore the full pose, work with a qualified teacher to connect the foot placement, chest opening, and return into one controlled transition.

Yoganiro was founded by Abdul Rehman with a passion for yoga, wellness, and mindful living. The goal behind Yoganiro is to inspire people through simple yoga practices, wellness tips, and healthy lifestyle content that promotes balance, peace, and overall well-being.