

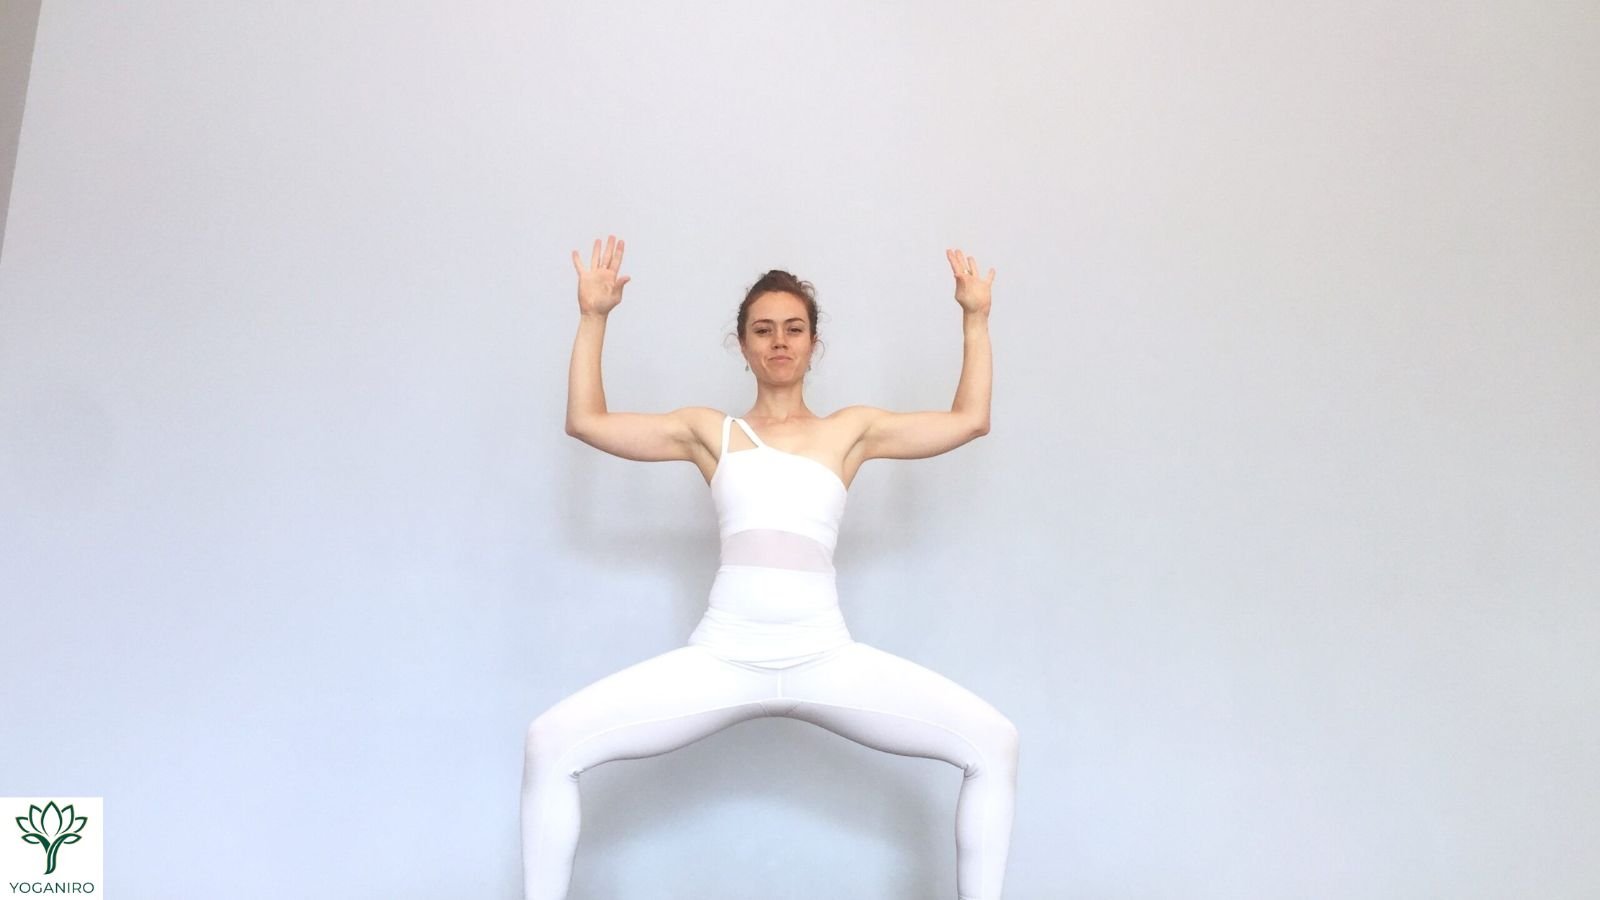
Practicing goddess pose for beginners starts with a comfortable wide stance and a small knee bend. Turn your toes outward, let your knees follow their direction, and lower only as far as you can control. Keep your hands on your hips or use a sturdy chair while learning the movement.
The first goal is simple: find a position you can enter, breathe in, and leave comfortably. You do not need to match a deep squat in a photograph.
Quick answer: Goddess Pose is a standing, wide-legged squat with the torso upright and toes turned outward. Start shallow, keep your feet grounded, and try a few comfortable breaths. Slowly straighten your legs to finish. Your thighs do not need to become parallel to the floor.
What Is Goddess Pose?
Goddess Pose, or Utkata Konasana, is a standing yoga posture with a wide stance, outward-facing toes, and bent knees. Its Sanskrit name is commonly translated as “Fierce Angle Pose.” Your arms may rest on your hips, meet at your chest, or lift into a goalpost shape.
You may also encounter the name Reclined Goddess Pose. That usually refers to Reclined Bound Angle Pose: lying on your back with the soles of your feet together. It is a different position, not the floor version of the same squat.
Alo Moves’ Goddess Pose guide explains the name, standing setup, and use of “Goddess” for a reclining posture. The Blog
Although often labeled beginner-friendly, the standing pose can feel demanding. The difficulty labels below describe each variation, not a universal measure of what your body should manage.
Before You Start
Choose a Stable Surface
Use a level surface with reliable grip. If you practice on a mat, check that it lies flat and that neither the mat nor your feet slide.
Leave enough room to step out of your stance. Move nearby clutter before starting, rather than trying to navigate around it while your knees are bent.
Wear clothing that allows a comfortable wide stance without restricting your movement.
Arrange Any Support First
For chair support, choose a sturdy chair without wheels. Secure it against movement, using a wall where appropriate, and check that it cannot tip under light hand pressure.
Keep your phone or written instructions where you can read them before each attempt. Avoid turning your head repeatedly to watch a screen while holding the position.
Warm Up Gently
Begin with a little easy walking, comfortable ankle movement, and a few small knee bends. Then rehearse your Goddess stance without holding it: bend slightly and straighten again.
This gives you a chance to notice your available movement today. A deep hip opener or demanding squat is not a prerequisite.
Know When to Seek Individual Advice
Existing injuries, recent surgery, balance problems, and conditions affecting your joints or spine may require a different approach. Pregnancy also calls for individual advice about suitable activity.
The National Center for Complementary and Integrative Health’s yoga safety guidance recommends qualified instruction and appropriate modifications. Stop if you experience pain, dizziness, numbness, or difficulty controlling the movement. NCCIH
For related reading, see our guides to yoga and knee-pain considerations and why hips crack during yoga. These explain separate concerns; they do not diagnose symptoms during your practice.
This article provides general movement education, not individualized medical advice.
How to Practice Goddess Pose for Beginners
Difficulty: Beginner — shallow standing variation
Read the exit instructions before beginning. For your first attempt, keep your hands on your hips and make the movement small.
- Stand facing the long side of your mat. Step your feet wider than your hips. Choose a width that feels steady rather than stretching to your maximum.
- Turn your toes outward. Use a comfortable angle. Avoid forcing a fixed degree of turnout.
- Settle your upper body. Rest your hands on your hips, relax your shoulders, and look ahead.
- Begin a small knee bend. Allow your knees to move in the same general direction as your toes.
- Lower into a shallow squat. Keep both feet grounded and your torso comfortably upright. Pause before the position becomes difficult to control.
- Take a few natural breaths. Notice whether you can remain steady without holding your breath or bracing excessively.
- Return upright slowly. Press through your feet and straighten your legs without snapping your knees backward. Once stable, bring your feet closer together with small steps.
Liforme’s Goddess Pose instructions emphasize knee tracking and explain that maintaining alignment matters more than reaching a deep squat. liforme.com
For a first hold, try two or three comfortable breaths, or less. Rest upright before deciding whether to repeat. This is a starting suggestion, not a minimum you must complete.
Alignment Tips That Make the Pose Easier to Understand
Adjust Your Stance Before Adding Depth
Think of stance width as something to explore. If your feet feel too far apart, or the position pulls uncomfortably through your inner thighs, stand upright and bring them slightly closer.
If you feel crowded, a small increase in width may be worth trying. Change one thing at a time, then test it with another shallow bend.
Avoid twisting your feet against the floor while holding the squat. Return upright before changing their position.
Keep Your Knees and Toes Moving Together
Rather than pushing your knees as far outward as possible, watch whether they follow the general direction of your feet.
If you cannot maintain that relationship comfortably, reduce the depth and reassess your setup. An instructor can help if you keep making adjustments without finding a manageable position.
The aim is a coordinated movement, not a forced shape.
Keep Your Feet Grounded
Notice contact through your heels and the front of each foot. Avoid deliberately rolling onto the inner or outer edges.
For this beginner version, leave both heels down. Heel-raised variations add another task and are unnecessary while you learn the basic movement.
Let Your Torso Stay Comfortable
Keep your torso upright without lifting your chest so strongly that your lower back feels compressed. Equally, avoid forcing a pronounced pelvic tuck.
Use a smaller squat if you find yourself struggling to organize your upper body. You should not need to hold a rigid, exaggerated posture to remain in the pose.
Choose an Arm Position You Can Maintain
Hands on hips are a straightforward starting choice. If comfortable, try palms together at your chest.
Goalpost arms are optional: bend your elbows and lift your arms only to a comfortable height. Lower them if your shoulders tire. You can change the arms without changing the legs.
Easier Goddess Pose Variations
Choose one version for your first session. Set it up, practice the exit, and notice how it differs from an unsupported squat.
Shallow Goddess With Hands on Hips
Difficulty: Beginner
Use the seven-step instructions, keeping the knee bend small. Let your hands rest on your hips rather than pressing hard into your waist.
This simplifies the arm position. It does not provide external balance support, so choose a chair-supported version if steadiness is your main concern.
Finish by straightening your legs before adjusting your feet.
Standing Goddess With Chair Support
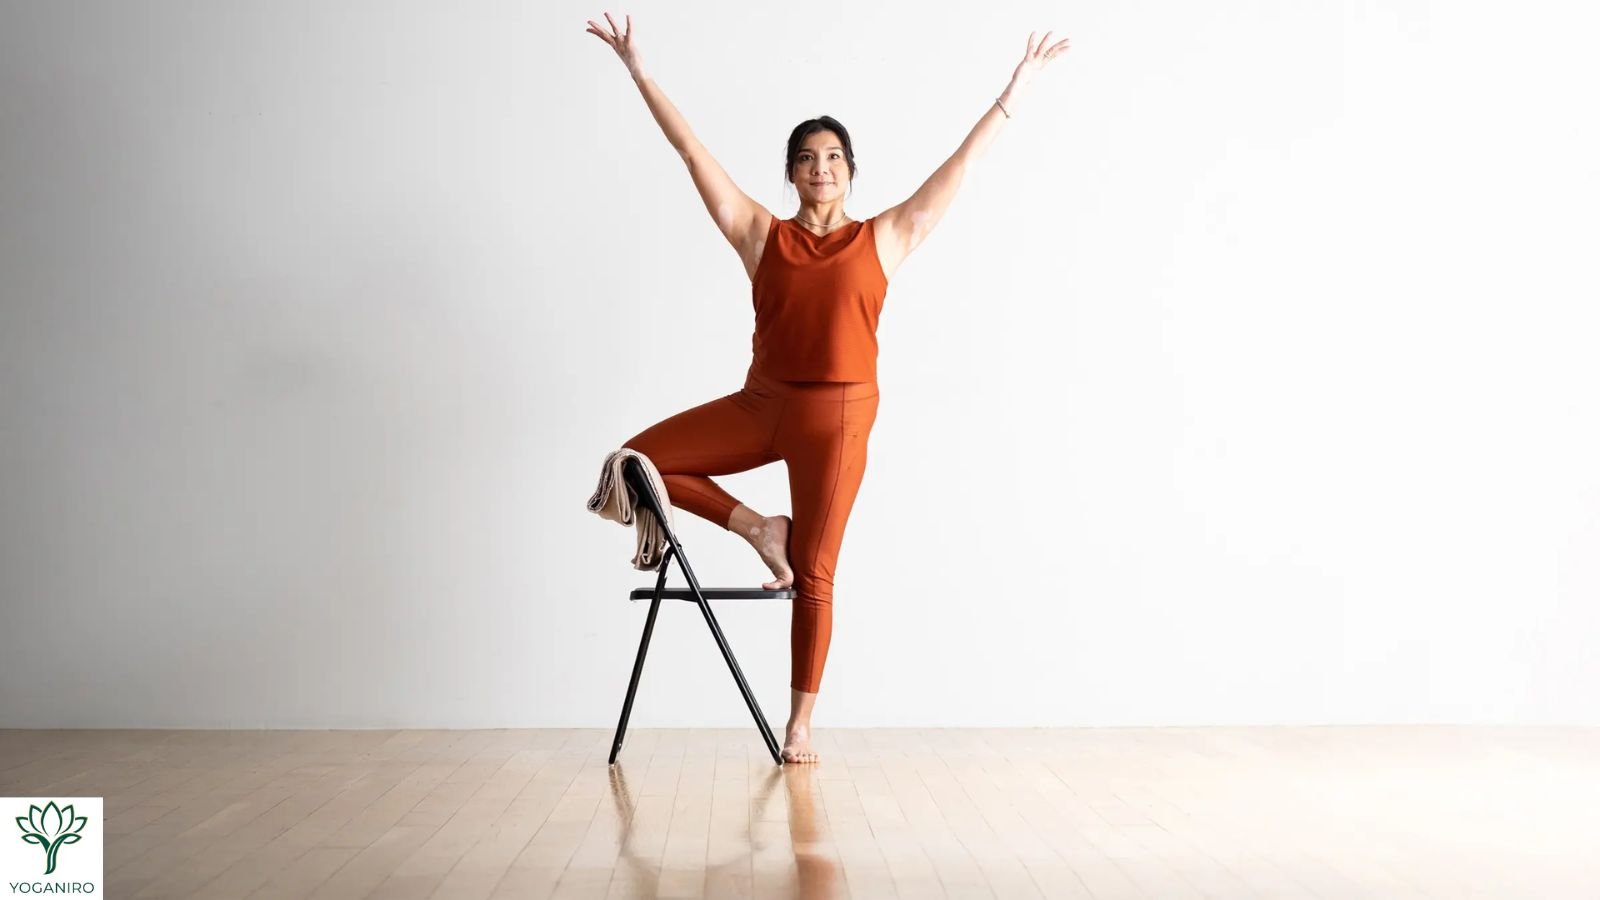
Difficulty: Beginner with support
- Face the back of a secured, sturdy chair.
- Place your hands lightly on the backrest.
- Step into a comfortable wide stance and turn your toes outward.
- Bend your knees a small amount, keeping your torso upright.
- Straighten your legs to finish, keeping your hands available until steady.
Stand close enough that you do not need to reach forward. Avoid pulling on the chair or relying on it to carry substantial body weight.
If you must lean heavily on it, return upright and reconsider the setup with an instructor.
BODi’s Goddess Pose guide includes hand support and a shallower squat among its easier options. www.bodi.com
Goddess Pose With Wall Support
Difficulty: Beginner with support
Stand with your back lightly against a wall and your feet slightly forward of it. Widen your stance comfortably, turn your toes outward, and explore a small knee bend.
Keep the movement shallow enough that you can press through your feet and straighten your legs smoothly. Avoid sliding down into a position you cannot leave without help.
A wall offers contact and support, but your legs still work. Yoga Basics includes wall support as a Goddess Pose modification. Learn the setup with an instructor if it feels unfamiliar. www.yogabasics.com
Seated Goddess-Inspired Variation
Difficulty: Beginner — seated adaptation
Sit securely on a stable chair with both feet supported on the floor. Move your feet apart within a comfortable range, allowing your knees and toes to face in the same general direction.
Rest your hands on your thighs or hips. Keep your torso comfortable and breathe normally. Bring your feet back toward a regular seated position to finish.
The chair supports your body weight, so this adaptation has different demands from a standing squat. It offers another way to explore the position rather than the same leg-strength challenge.
Common Difficulties and What to Adjust
Use the table to choose one adjustment. Return to standing before changing your setup.
| What you notice | What to try |
|---|---|
| Your knees drift inward | Come higher and reassess your stance and foot angle. |
| Your feet slide | Stop and improve the surface or mat setup before continuing. |
| Your heels lift unintentionally | Reduce the depth and reset your stance. |
| Your torso tips forward | Come higher; check that your chair is not too far away. |
| Your lower back feels strained | Leave the pose; avoid forcing an arch or strong pelvic tuck. |
| Your shoulders tire | Lower your arms or rest your hands on your hips. |
| You hold your breath | End the hold, rest, and make the next attempt easier. |
| Your knee or hip hurts | Stop rather than repeatedly testing the painful position. |
Muscular effort is not a reason to ignore discomfort. You do not need to identify the exact cause of a sensation before deciding to pause.
Also check your exit. If you can lower into a position but struggle to rise smoothly, choose less depth for the next attempt.
What Does Goddess Pose Help You Practice?
Supporting Your Body Weight
Holding a standing squat asks your legs to support you. The quadriceps and other lower-body muscles contribute to maintaining the position. Your trunk also works to organize your torso.
This makes Goddess an active posture, even when you remain still. It is not simply an inner-thigh stretch. www.yogabasics.com
Controlling the Squat
Lowering and rising deliberately let you practice a movement from beginning to end. Notice whether you can stop at a chosen depth and reverse direction without rushing.
An easy entry and exit can be a more useful early goal than holding the lowest position possible.
Exploring Comfortable Hip Movement
The wide stance and outward-facing legs offer a way to explore your available movement. You can experiment with a manageable range rather than treating a photograph as a flexibility target.
“Hip opening” is common yoga language. It does not mean you need to force the joints wider.
Keeping Your Attention on the Movement
A short hold gives you a simple focus: feel your feet, notice your breathing, and decide when to finish. You can practice paying attention without adding a complicated sequence.
These are movement opportunities, not guaranteed outcomes. NCCIH’s overview of yoga research concerns broader yoga practices and programs, not proof that Goddess Pose alone treats a medical condition. NCCIH
A Short Beginner Routine
This suggested six-minute practice includes preparation, setup, and rest. The time blocks are not continuous squat holds, and the routine is not a researched treatment program.
| Time | What to do |
|---|---|
| 0:00–2:00 | Walk gently, move your ankles, and try comfortable small knee bends. |
| 2:00–3:00 | Arrange support, find your stance, and rehearse bending and straightening. |
| 3:00–4:00 | Try one brief Goddess hold, then spend the remaining time resting. |
| 4:00–5:00 | Repeat once if comfortable, or continue resting. |
| 5:00–6:00 | Finish with relaxed standing or comfortable sitting. |
You can end sooner. There is no need to fill every minute with movement.
For another standing practice, explore our beginner yoga poses for balance. Our Triangle Pose guide explains a different posture to learn separately.
If a floor-based finish appeals to you, read the Happy Baby Pose instructions and modifications. Choose it only if the position suits you; no particular counterpose is required.
You can also finish seated and notice your natural breath. Our meditation for beginners guide explains comfortable positions and simple starting practices.
How to Progress Without Rushing
When practicing goddess pose for beginners, progress does not have to mean squatting lower. Look for these practical changes:
- You find your stance with fewer adjustments.
- You can breathe naturally throughout a brief hold.
- Your feet remain steady.
- You can rise smoothly and reset.
- You recognize when to stop or use support.
Once your current version feels manageable across several attempts, consider changing just one feature. You might add a breath, explore a slightly larger bend, or try a different arm position.
Avoid changing all three at once. Keeping most of the setup familiar makes it easier to judge whether the new challenge suits you.
There is no deadline for removing support. Keep using a chair or wall if it helps you practice comfortably.
Frequently Asked Questions
Is Goddess Pose Suitable for Complete Beginners?
A shallow or supported variation can be a starting option. Suitability depends on your balance, mobility, strength, and health needs. If the position remains confusing or uncomfortable, ask a qualified instructor to help you adapt it.
Do My Thighs Need to Be Parallel to the Floor?
No. Choose a depth that allows comfortable breathing and a controlled return to standing. A higher position is a valid way to practice, not an unfinished version you must rush past.
Can Men Practice Goddess Pose?
Yes. The pose is not limited to women. Choose the variation according to your body and current abilities rather than the name.
Do I Need Special Equipment?
No special equipment is required. You need a stable surface and clear space. A secured chair or a wall provides optional support; a mat is useful only when it gives reliable grip.
Should I Add Pulses or Lift My Heels?
Neither is necessary for learning the basic pose. Begin with a controlled entry, brief hold, and smooth exit. More demanding variations can wait until you are comfortable with the setup and have appropriate instruction.
Can I Practice Goddess Pose During Pregnancy?
Ask your prenatal healthcare professional about exercise suitability and work with an appropriately qualified instructor on modifications. Its inclusion in prenatal classes is not automatic clearance for every pregnancy. NCCIH recommends individual evaluation and activity adjustments. NCCIH
How Long Should Beginners Hold Goddess Pose?
Start with two or three comfortable breaths, or less, then straighten your legs and rest. End the hold sooner if your breathing becomes strained or you lose control of the position. As the pose becomes more familiar, you can gradually add a breath without increasing your squat depth.
Final Thoughts
Goddess pose for beginners is a chance to learn a steady stance, a controlled knee bend, and comfortable breathing. Start with one manageable variation and give yourself time to understand it.
For your next session, arrange any support, rehearse the exit, and try one brief hold. Notice how easily you can return to standing. Let that experience guide your next attempt.

Yoganiro was founded by Abdul Rehman with a passion for yoga, wellness, and mindful living. The goal behind Yoganiro is to inspire people through simple yoga practices, wellness tips, and healthy lifestyle content that promotes balance, peace, and overall well-being.